Are you looking for a good Telugu wedding invitation status video in this article, I will tell you how to create a wedding invitation video in the kine master app in Telugu?
- For this video, you need to open the kine master app first and select the 16:9 ratio.
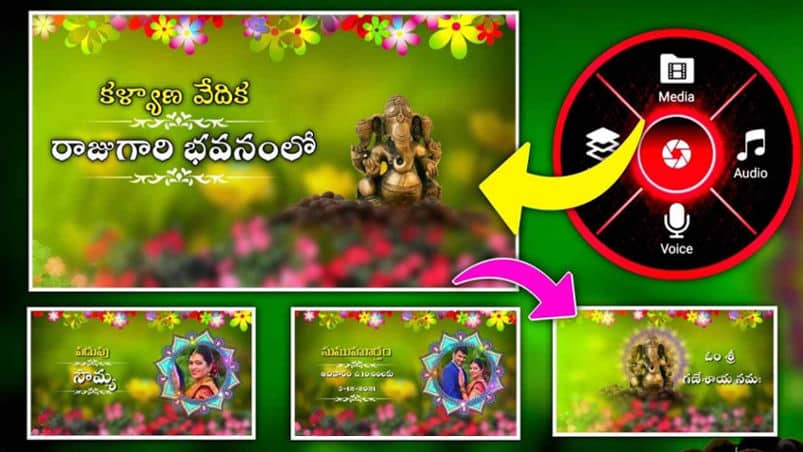
- If you enter the project name and click on Create Butter, the interface of the application will open, click on the media option import any background image or video, and then drag that image for 30 seconds. Within these 30 seconds, we have to complete the invitation either with photos or with titles or within 30 seconds because it is for only status so we will support those in 30 seconds only status.
How to create titles
- You can also edit these titles in the same application, otherwise, there is no option to create a title in the old version of this application, because even though it is only a text option, if we add text individually and do animation, we will not get the animation properly and the video will not have a proper professional look. This will waste a lot of time, so I will tell you a simple trick. After doing this trick, you can create a professional title very easily. For this, you need to install another application, that is pixellab.

- Open this application and then click on the fourth option at the bottom and click on the size the size should be taken in YouTube Thumbnail, now we will get it in Landscape. In the same options there is an option called transparency on the left side click on it and change the background to transparent now you will see a plus button on the top left click on it and add text now edit that text or double click it will go into edit now there Whatever you want to enter, enter the title and center it horizontally and vertically, now you have to add dividers and text frames and change the font color and font style.

- Design can be done if you don’t like the colors and if you want to add the image in the text then there is an option called texture in the options at the bottom you can use these options, and you can also add the image you like in the text in this way after adding the save button will appear at the top and click on it If you select high quality and click on save to gallery, the image will be saved in the gallery in this format.
Adding Photos
- When you add photos, you need to match any frame in the background, how do you take some PNG images like a flower mandala and animate them if we add photos, it will look better if there is any animation in the background, so for this animation, you need to first Wherever you want to create with a photo, you have to take a frame and rotate that frame.

- For this rotation, when you click on that layer, there are many Options on the right side. Use transfer options in them and you have to animate. Then on the same slide, click on the layer and click on the media and any photo. But if you want to add, select that photo and click on the cropping option, click on shapes, select circle in shape, and come back, The feather option will appear here you need to set the feather to 32 and 40%, now add this photo on where the frame animation is and title this photo Or leave a space for the name. Same you add and animate the photo in any way, similarly add and animate the title, click on this photo, and set the duration in one second in and out fade. Later if you want to take any other admission for this then you can use transfer options and also take admission in x-axis y-axis size.

- Similarly, wherever you want to add photos, use the same process, and you can animate the photos as you like.
Adding Elements
- After creating the title and sending photos, we need to add some effects or elements on top of them, with which we can edit a very attractive video. First, you click on the layer where the photos are and click on the media, and you need to add particle effects for them, click on the layer and click on the media and add particle effects or a green screen from the gallery on the photos or on the text, the video will look attractive. You can install and use it from the kine master application store which is by default for these helmets, there are many elements like effects and clip art text animation, photo and mission video, and mission fireworks, you have to select and use them to set them to your video.

Common mistakes made while editing video
- Most of us make small mistakes during video editing that make our video look professional. Some of the common mistakes are media quality photos or videos while importing quality photos or videos. Everything should be animated for the same duration at the right time. Resolution should also be selected in high quality. Along with that, while importing the video, the video should be checked frame-wise from start to end. Export should be started only after checking the video. Covering small mistakes will give the video a professional look.
- Before editing the video, you should select only the photos or videos PNG images that are of high quality, if you use blurry materials, the video quality will not be there after saving the video. While you are creating the project, you should only select the project in high resolution. When applying transition to layers, all should be animated at the same time or timing. It should not be too big or too small images should also be set at the right size while adding them to the background. By making these small mistakes, you will not be able to do professional video editing. If you cover these small mistakes, you will be able to edit professional videos easily.
💠All Materials Click Here