In this video, I will explain to you step by step how to create a colorful Telugu wedding invitation video status in the Alight Motion application. This article will be fascinating. Read it completely and edit it.
Here is what you need to edit this video.
- Vinayaka Intro video
- Telugu fonts
- Purple color flower PNG image
- White background video
- Brushstroke video
- The alight motion must be installed on your mobile.
1) Using Vinayaka Intro Video
- Open Alight Motion on your mobile. Click on the green plus icon at the bottom. Set the project name, background color, black, 16:9 ratio, 1080p, and 30fps. Click on the Create option. The application’s interface will open. Now click on the green plus icon at the bottom of the right side. Click on media and save it in your gallery. Select and add the video from Vinayaka’s house. Make sure the video is only 6 seconds long in this house. If there is an extra, delete it. Now, add a text below this intro video, it is Om Shri Ganeshaya Namah. Since you are creating an invitation in Telugu, write it in Telugu or if you are doing it in English, write it in English.
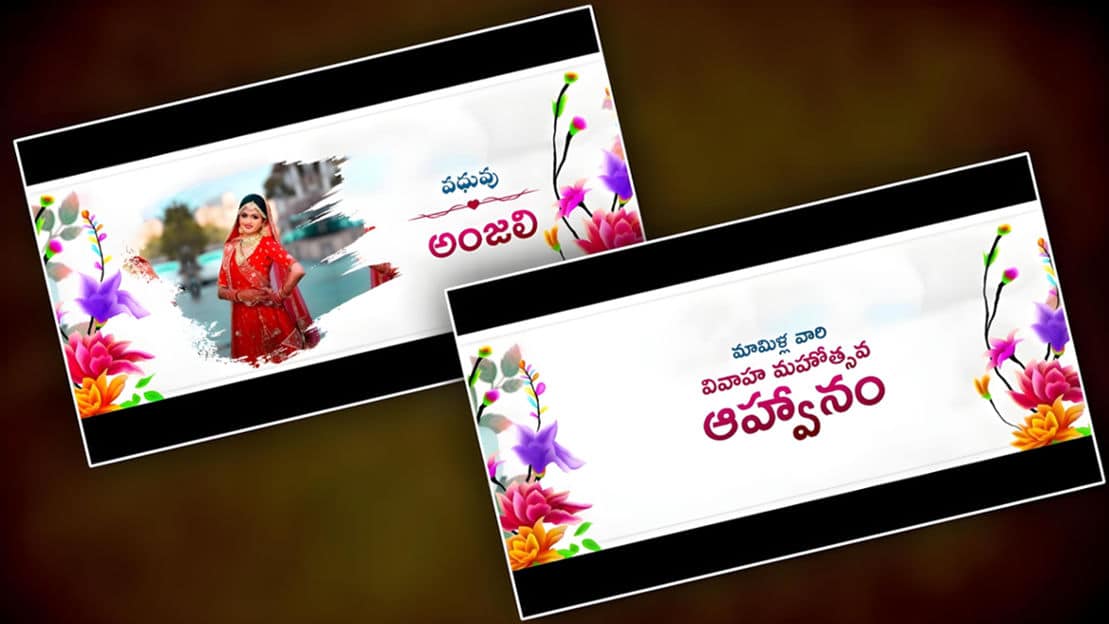
2) Creating Titles
- Click on the green plus icon click on the text option and add a text. Here, enter the full name of the house related to the wedding invitation. Then type “Wedding Invitation”. Then apply a color to this text. Select the color to be set as the background. For example, dark red color, dark blue color, and dark pink color, such colors. Select only thick colors like dark. Also, apply font styles. Telugu fonts are available by default in this application. You can choose any of these as you like. Select the font. Then add this text for 6 seconds.
3) Using Purple Color PNG Image
- Click on the green plus icon, click on the media option, select this image from your gallery, and add it. Then click on this image and duplicate it. Then set one of the two on the left side bottom and the second on the right side top in two corners. Now we need to apply animation effects to these two images. For this, click on this PNG image, Add Effect, add fractal effects from the effects store, and apply them. Then click on the Move and Transfer option and rotate these two a little.
- Now, all the layers in this slide are complete. Now, to animate them, click on the Plus icon, click on the Element option, and click on the null layer. Now, all the layers in this slide need to be connected to this null layer. For this, you need to select any layer, click on the Layer option in the top right-hand corner, and then tap on the null option. In this way, you need to connect all the layers to it. Then click on the Move and Transfer option and you can animate in, out, or as you like.
- Now, the first slide is complete. Now, we need to create the next side, that is, first. Copy all the layers in the slide and paste them on the next slide. After that, you need to apply a new null layer. After applying, number these layers because when you are editing in the second slide, when you apply to the null layer, you need to connect only the layers in that second slide. Only then will you get the correct animation. You can edit the video by copying and pasting it like this.
4) Brushstroke video using
- You should use this effect wherever you want to edit a photo. While using the effect, we should use the chroma key option. For this, you should click on the green color place icon, click on the media option, select this video, and add it, then add a photo to the same video, group braid it, and add this photo below the video you took. Now click on the ink drop video, click on the apex option, click on add effect, add the option or effect to chroma, select the black color or the ink drop color, and remove it. Then add a photo of your choice to this ink drop and animate it.
- After you have completely edited it, add a wedding invitation background music of your choice and apply fade in and fade out to this music. Finally, click on the share option and save the video in as high quality as possible.
- Before exporting the video, play it completely from the start to the end and check whether the animation you have made is correct or not. Only after correcting them, export the video.
💠Photos and videos Click Here
💠Fonts Click Here
💠Music Click Here
💠Beat Mark XML Click Here
💠Beat Mark Presset Click Here