How to Do Professional Color Grading in the VN Video Editor App
Introduction
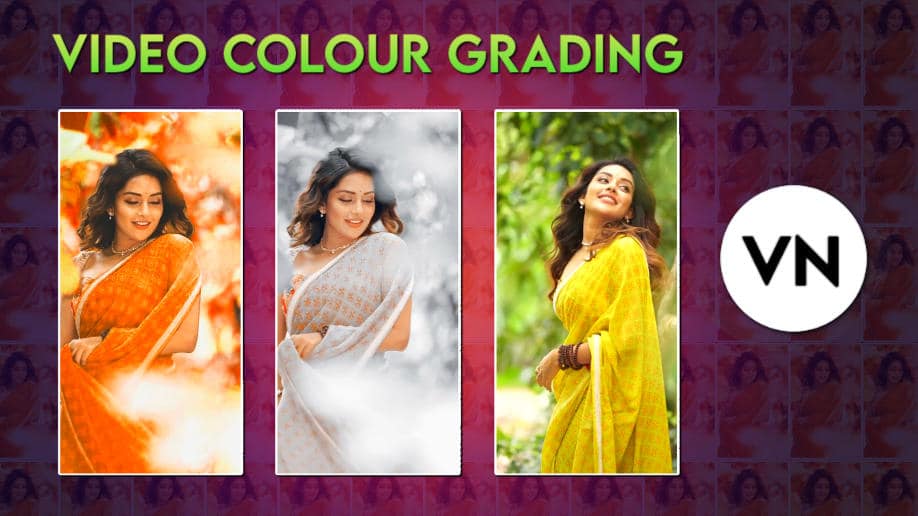
Color grading is a crucial step in video editing that enhances your footage’s mood, tone, and overall visual appeal. While professional-grade software like DaVinci Resolve is often the go-to choice, mobile apps like VN Video Editor (VN App) also offer powerful color grading tools.
In this guide, we’ll walk you through the process of achieving professional-looking color grades in the VN app, covering essential techniques, tools, and best practices.
1. Understanding Color Grading vs. Color Correction
Before diving into the process, it’s important to distinguish between color correction and color grading:
Color Correction: Fixing exposure, white balance, and color inaccuracies to achieve a neutral, balanced look.
Color Grading: Applying creative adjustments to establish a specific mood or style (e.g., cinematic, vintage, high-contrast).
VN App provides tools for both, allowing you to refine your footage before applying stylistic grades.
2. Essential Color Grading Tools in VN App
VN offers several built-in features for color adjustments:
A. Basic Adjustments
Brightness/Contrast: Controls exposure and dynamic range.
Saturation: Adjusts color intensity.
Temperature/Tint: Fixes white balance issues.
B. Advanced Color Controls
HSL (Hue, Saturation, Luminance): Fine-tunes individual colors.
Curves (RGB & Luma): Provides precise control over shadows, midtones, and highlights.
Shadows/Highlights: Enhances detail in dark and bright areas.
C. Presets & LUTs (Look-Up Tables)
VN includes built-in filters that mimic professional LUTs.
You can also import custom LUTs for a specific cinematic look.
3. Step-by-Step Professional Color Grading in VN App
Step 1: Import and Prepare Your Footage
Open VN and import your video clip.
Ensure your footage is well-exposed (avoid overblown highlights or crushed shadows).
Step 2: Apply Basic Color Correction
Tap Adjust in the editing menu.
Use Temperature/Tint to fix white balance.
Adjust Exposure and Contrast for a balanced look.
Fine-tune Saturation for natural colors.
Step 3: Use Curves for Precision
Go to Curves in the Adjust menu.
Adjust the RGB curve to control contrast.
Use the Luma curve to refine brightness without affecting color.
Step 4: Fine-Tune Colors with HSL
Navigate to HSL settings.
Select a color (e.g., blues for skies, skin tones for portraits).
Adjust Hue, Saturation, and Luminance for a polished look.
Step 5: Apply a Cinematic Look (Using LUTs or Filters)
VN offers built-in Filters (e.g., “Movie,” “Vintage”).
For more control, import a custom LUT (if supported).
Adjust the filter intensity for a subtle or bold effect.
Step 6: Final Tweaks (Vignette, Grain, Sharpness)
Add a slight vignette for focus.
Apply subtle grain for a filmic texture.
Use sharpening sparingly to enhance details.
4. Pro Tips for Better Color Grading in VN
Shoot in Flat/Log Profile (if possible) for more grading flexibility.
Use Reference Images to match a desired color style.
Avoid Overprocessing – subtle adjustments often look more professional.
Check on Different Screens to ensure consistency.
5. Exporting Your Graded Video
Select the highest resolution (1080p or 4K if available).
Choose a high bitrate for better quality.
Export in H.264 for compatibility or H.265 for efficiency.
6. Creating Custom Looks with Split Toning
Split toning adds different colors to shadows and highlights, enhancing mood and depth. While VN doesn’t have a dedicated split toning tool, you can simulate it:
Method 1: Using Color Wheels (If Available)
If VN has RGB adjustments, slightly warm the highlights (orange/yellow) and cool the shadows (blue/teal).
Adjust saturation subtly to avoid an unnatural look.
Method 2: Layering with Blending Modes
Duplicate your clip and apply a warm filter (e.g., “Golden Hour”) to the top layer.
Set blending mode to “Overlay” or “Soft Light” and reduce opacity (~30%).
Mask out shadows if needed to maintain contrast.
7. Emulating Film Grain & Texture
Film grain adds a nostalgic, cinematic feel. Here’s how to achieve it in VN:
Option 1: Built-in Grain Effect
Some VN filters include subtle grain. Try “Classic Film” or “Retro” presets.
Reduce intensity to keep it realistic (around 10-20%).
Option 2: Add Grain Manually
Overlay a grain texture (download a PNG/MP4 grain overlay).
Set blending mode to “Screen” or “Overlay” and adjust opacity.
Blur slightly to avoid a noisy, digital look.
8. Dynamic Range Expansion (Fake HDR Effect)
Mobile footage often lacks dynamic range. Use these tricks to enhance it:
A. Shadows/Highlights Recovery
In Adjust, lift shadows slightly (+10 to +20) to reveal details.
Lower highlights (-5 to -10) to recover blown-out skies.
B. Luma Curve Adjustments
Create an S-curve (gentle lift in shadows, slight dip in highlights) for contrast.
Avoid extreme curves to prevent banding.
9. Skin Tone Perfection
Accurate skin tones are critical for professional results:
Step 1: Isolate Skin Tones with HSL
In HSL, select reds/oranges (varies by ethnicity).
Reduce saturation slightly (-5 to -10) for a natural look.
Increase luminance (+5) if skin appears too dark.
Step 2: Soften with Blur (Optional)
Apply a masked blur effect to skin areas (avoid overdoing it).
10. Matching Shots in a Sequence
Consistency is key when grading multiple clips:
Method 1: Copy/Paste Adjustments
After grading one clip, copy the settings and paste them onto the others.
Tweak individually for lighting differences.
Method 2: Use a Reference Frame
Keep a screenshot of your graded master shot for comparison.
Match HSL, curves, and exposure across all clips.
11. Night Scene Grading (Low-Light Footage)
Dark footage often needs noise reduction and color tweaks:
A. Reduce Noise
Lower the shadows’ saturation to minimize color noise.
Apply slight sharpening to counteract blur.
B. Cool Tones with Teal/Blue Shadows
Push shadows toward teal for a cinematic night look.
Add a subtle blue tint to highlights (moonlight effect).
12. Export Settings for Maximum Quality
To preserve your grade:
Resolution: Always match your project’s native resolution (e.g., 4K for 4K footage).
Bitrate: Higher = better (e.g., 20-50 Mbps for 1080p).
Format: H.264 for compatibility; H.265 for smaller files.
Color Space: If available, use Rec.709 (standard for HD).
Final Thoughts
Mastering these advanced techniques will elevate your color grading far beyond basic presets. Remember:
Subtlety is key – small adjustments often look more professional.
Practice with different genres (e.g., moody drama vs. vibrant travel vlogs).
Stay updated – VN may add new features over time.
With patience and experimentation, you’ll develop a signature grading style that makes your videos stand out, all from the convenience of your phone. Happy grading!