Hello friends welcome to our next topic in this article I will explain step by step how to create a video for good birthday wishes with your favorite photos in this article it will be very easy to read and completely edit.
Let’s find out what is needed to edit this video
1) Alight Motion application should be installed on your mobile
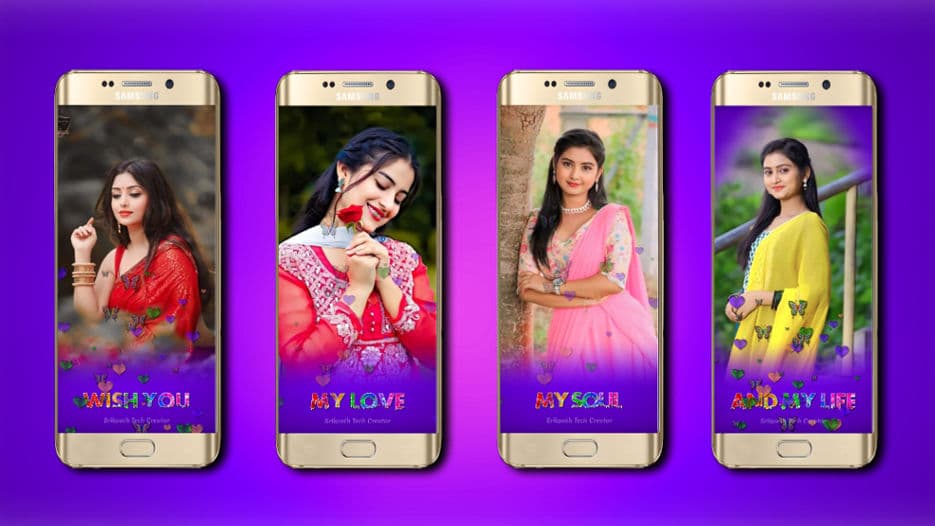
2) Purple color background photo
3) English font style
4) Butterfly PNG image and hot ship
5) BGM
6) Birthday boy or birthday girl 10 photos
Now let’s find out how to edit using these.
- Open the Alight Motion application on your mobile click on the plus icon in green color and enter the project name select 1080p in the resolution set the framerate to 3pfps and set the background color to black Select and click on the create option on the bottom right side. Now the interface of the application will open.
Using a purple color background image
- First, you have to click on the plus icon in green color. Click on the media option select the background image from your mobile gallery and add it. Add this image for 15 seconds or 14 seconds. You can also adjust the color of your choice for this image and also fit the image to the entire screen. Or you can add this image by setting beat marks behind the BGM and only up to those big marks. You can edit this image by copying and pasting it.
Text Adding
- Now click on the plus icon in green color click on the text option and add text from here. In this, you have to listen to the BGM and type each word or lyric in that BGM while listening to it. After entering the first word, how much of that lyrical is there? Up to that point, you need to set a single beat mark. Now, click on that text and apply the font style as well. For this font style, click on this text layer and click on the edit text option at the bottom and there are many fonts at the top. Select an attractive font of your choice. Then set a color for this text to make it look colorful and attractive. For this, you can also add a colorful image on this text or inside the text or click on the color and feel option and you can also apply a single color or gradient color. After applying this, you have to set this text vertically in the center at the bottom.
Using Butterfly PNG and Heart Shape PNG Images
- These should be added and used only on the text because when the text is opened at the start, this butterfly or heart PNG is the text itself, so you need to duplicate these and apply them to each letter. For this, you need to click on the plus icon in green color and click on the media option. Add these two images from the gallery, then add a butterfly in the starting, a butterfly in the ending, that is a butterfly on the first letter of a word, and a butterfly in the ending. Put a heart shape on all the letters in the middle. Apply different colors to each PNG image. For these colors, tap on an image, click on the effects option below, click on add effect, search for HUE, select the effect you get, and add it. Now we have an option in this, use this option and apply the color of your choice to all of them as different colors. By doing this, we will make the video look very attractive and new.
- Also, we should apply the repeated effect to these PNG images. For this, you need to click on the effects option at the bottom on the right side, click on Add Effect, type repeat in the search, add the resulting effect and apply it, set this animation in the angles you want, set the animation in all the same direction. This is how you need to do the animation for this butterfly effect
Birthday Boy or Girl Photos Using
- In this, we will use 10 photos, first, you need to add a photo after reaching a beat mark, for this photo, you need to click on the plus icon in green color, click on the media option, select a photo from your gallery and fit it to the screen, then set the color corrections for this photo. For this, click on the effects option add saturation, and increase the color. After that, click on this photo and apply the vignette effect. For this, click on the effects option click on the head effect, and apply this effect and you should make an animation as if all the corners are erased or revealed at the same time.
- After editing it completely, you can copy all the slices on the first side and add the remaining bead marks. After editing it completely, you can reply to the text by replying to it.
- Now click on the share option and set the video to as high quality as possible also set the frame rate to 30 to 60 and click on export. Now this video will be successfully saved to your gallery.
💠Alight Motion Presset Click Here