Introduction to Coming Soon Birthday Status Video Editing
Creating a “Coming Soon” birthday status video is a fun and trendy way to build excitement for an upcoming birthday celebration. Instead of simply posting a date or a message, a short video status creates curiosity and makes friends and family look forward to the celebration. With the help of Alight Motion or KineMaster, you can design a creative and professional-looking birthday status directly from your smartphone. These apps allow you to add animated text, music, effects, and smooth transitions that transform a simple announcement into an engaging video perfect for WhatsApp, Instagram, or Facebook stories. In this tutorial, I will guide you step by step so you can create an eye-catching “Coming Soon” birthday status that generates excitement.
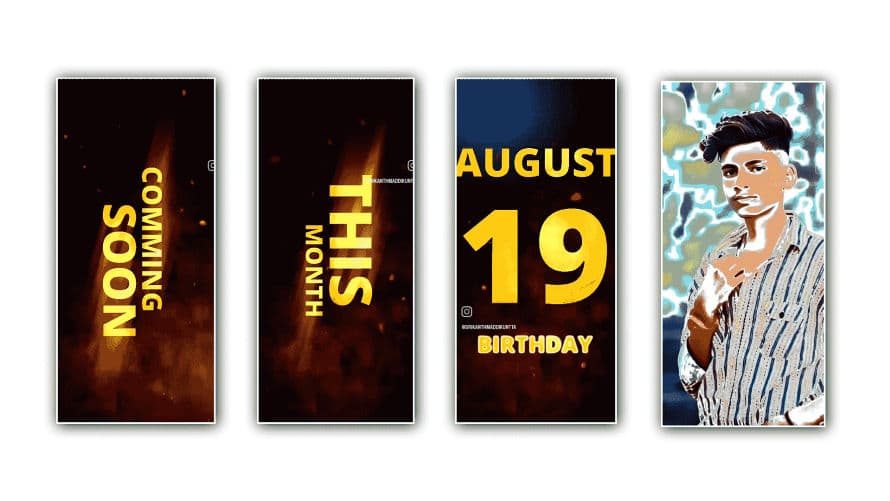
Planning Your Coming Soon Birthday Status Concept
Before starting the editing process, it is important to plan the concept of your birthday status video. Decide on the mood you want to convey, whether it is fun, energetic, mysterious, or cute. Choose high-quality photos or short video clips of the birthday person or party decorations that fit the vibe. Prepare the text content you want to include, such as “Coming Soon,” the birthday date, or a teaser message. Selecting trending background music is also essential because music sets the tone and keeps viewers engaged. Having a clear idea before editing ensures that your video flows smoothly and looks well-structured.
Setting Up the Project in Your Editing App
Open your preferred editing app and create a new project with a 9:16 vertical aspect ratio, which is perfect for social media stories. Import your selected images or clips and arrange them in a sequence that creates anticipation. Start with a simple background or an animated template, then gradually reveal elements like birthday decorations or the “Coming Soon” text. Adjust the duration of each clip to match the rhythm of your chosen music. Proper project setup and thoughtful arrangement of clips are key to making your birthday status feel polished and exciting.
Adding Text Animations, Effects, and Music
Text plays a central role in “Coming Soon” birthday status videos. Add bold, stylish fonts to display messages clearly, and use simple animations like fade-in, slide, or bounce effects to create motion. Enhance the video with effects such as light leaks, sparkles, or particle overlays to make it visually appealing without overwhelming the viewer. Sync the text and clip transitions with the beats of your background music to make the video feel dynamic and professional. Subtle effects and well-timed animations help your birthday status stand out on social media.
Final Touches and Exporting the Status Video
After completing your edits, preview the entire video carefully to check for smooth transitions, timing, and text readability. Adjust colours, brightness, and contrast slightly if necessary to give the video a consistent and polished look. Once you are satisfied with the final result, export the video in high resolution to ensure it appears sharp on social media platforms. Your “Coming Soon” birthday status video is now ready to share, creating curiosity and excitement among friends and family while building anticipation for the special day.