Introduction to Cinematic Wedding Invitation Video Editing
Creating a cinematic wedding invitation video is a modern and elegant way to invite family and friends while showcasing the couple’s love story in a visually stunning format. Unlike traditional invitations, a cinematic video allows you to combine beautiful visuals, romantic music, and smooth transitions to create an immersive experience that leaves a lasting impression. With Alight Motion, even beginners can achieve professional-quality results on a smartphone or tablet. Alight Motion offers advanced features such as multiple layers, blending modes, keyframe animation, and colour correction, giving you the creative tools to craft a polished and cinematic wedding invitation. This tutorial will guide you through the step-by-step process of editing a video that looks cinematic and memorable.
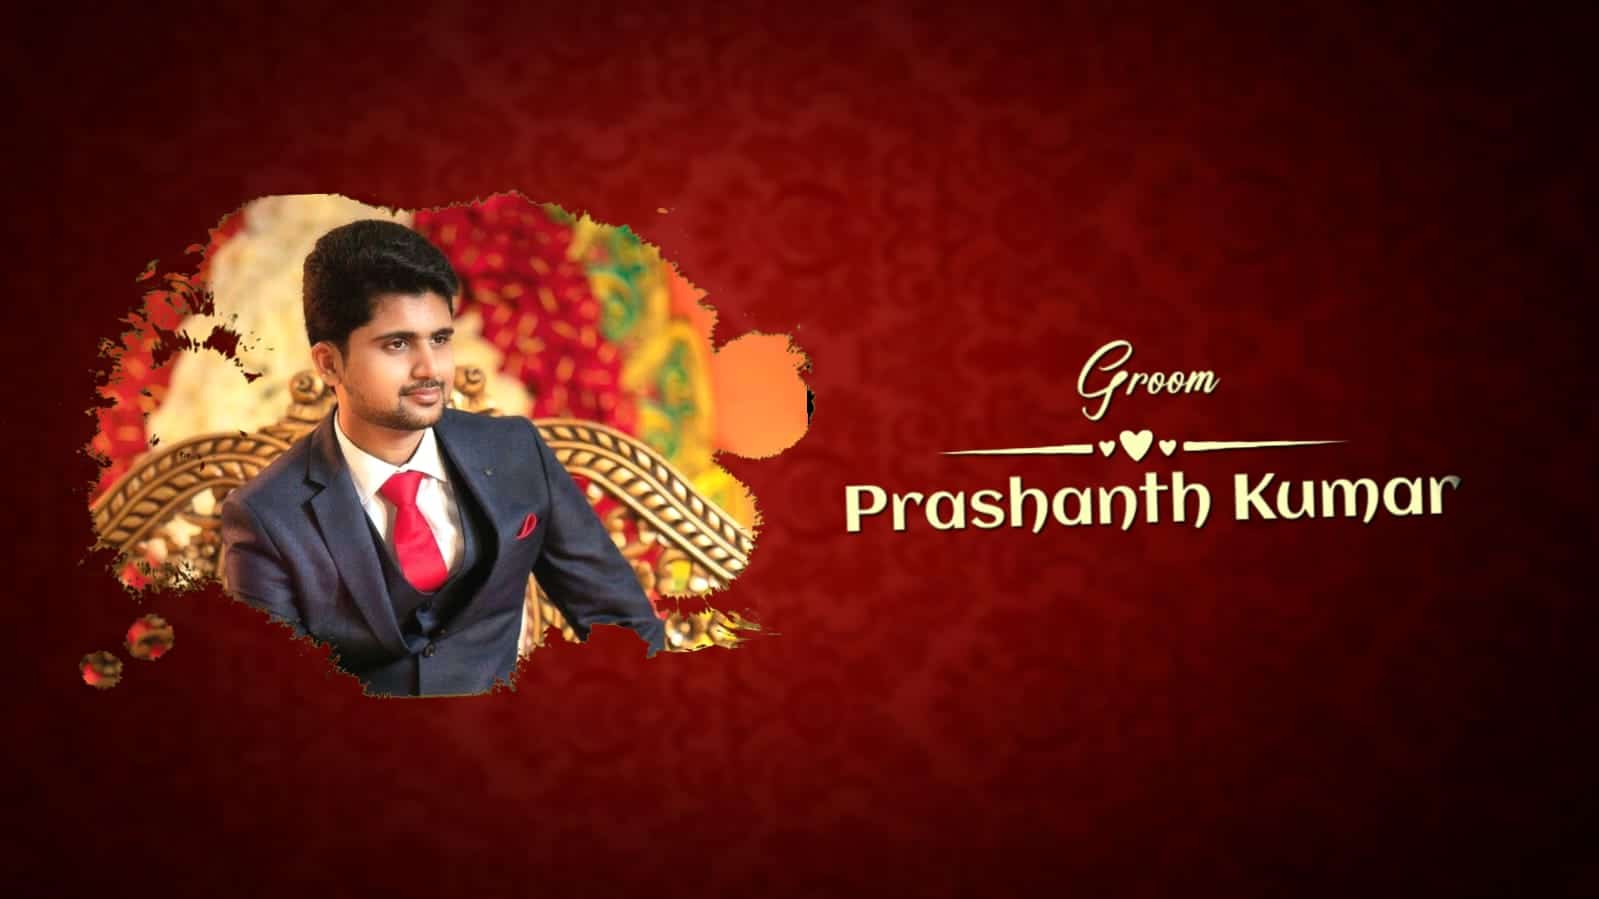
Planning Your Cinematic Wedding Invitation Concept
Before opening Alight Motion, it is important to plan the concept of your cinematic wedding invitation. Think about the mood and style you want to convey, whether romantic, dramatic, or elegant, and select high-quality photos or video clips of the couple that capture meaningful moments. Decide on the sequence of scenes, such as introductions, pre-wedding memories, and key wedding details, including names, date, venue, and a heartfelt invitation message. Having a clear plan ensures that the video has a smooth flow and that transitions, effects, and music enhance the storytelling rather than distract from it. A well-planned concept will make the editing process in Alight Motion moreorganisedd and enjoyable.
Setting Up Your Project in Alight Motion
After finalising your concept, open Alight Motion and create a new project with the appropriate aspect ratio based on your sharing platform, such as 16:9 for YouTube or 9:16 for Instagram stories and WhatsApp. Import your selected photos and video clips into the timeline and arrange them in the desired order, starting with a dramatic opening, followed by highlights of the couple’s journey, and ending with the wedding details and invitation message. Alight Motion allows precise control over timing, layering, and visual effects, which helps in building a cinematic flow. Properly setting up your project at the start saves time during editing and ensures that your final video looks professional.
Adding Music, Transitions, and Effects
Music is one of the most critical elements in creating a cinematic wedding invitation because it sets the emotional tone of the video. Choose a romantic instrumental or cinematic track that complements the visuals, and adjust the length to fit the video perfectly. Use smooth transitions such as crossfades, zoom-ins, and slow pans between clips to maintain a cinematic flow. Alight Motion also allows you to apply overlays, visual effects, and colour grading to enhance the video’s mood and add a professional look. Subtle effects like lens flares, light leaks, or slow-motion segments can make your video visually captivating without overwhelming the viewer.
Designing Text and Exporting the Final Video
Text is essential in a wedding invitation because it communicates the names, date, venue, and invitation message clearly. Alight Motion provides tools to animate text creatively, allowing elegant fade-ins, sliding titles, or cinematic typewriter effects. Choose fonts andcolourss that match your wedding theme while keeping them readable. After reviewing your video to ensure smooth transitions, correct details, and balanced audio, export it in high resolution for optimal quality across devices. Once exported, your cinematic wedding invitation video is ready to share with friends and family, creating excitement and anticipation for the wedding day.