Are you looking for a nice, colorful, and beautiful Telugu wedding invitation?
In this article, I will explain to you how to create a good beautiful, and colorful Telugu wedding invitation video.
Let’s find out what it takes to edit this video
- Alight Motion app
- Mandala-style flower PNG images
- Telugu fonts
- White and pink background Image
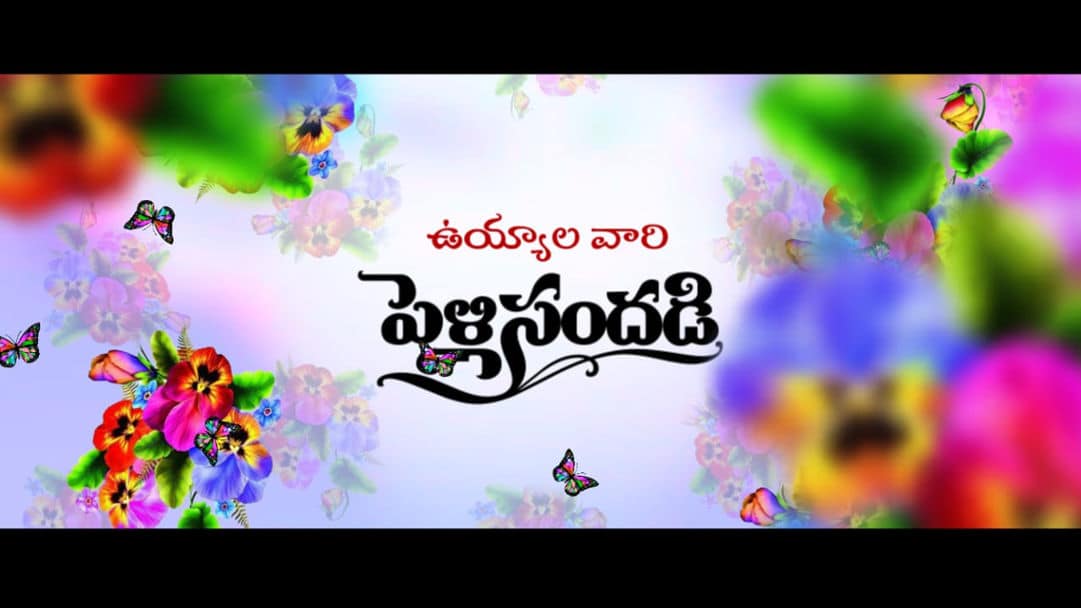
- Wedding PNG text image
- BGM
- Cinematic frames PNG image
- Save the date PNG image
- First, you go to the alight motion application click on the plus icon, and enter the project name then select high-quality select 16:9 ratio select black in the background, and, click on the create button now the interface will open for you Here First have one in the background The image should be added. The image in white and pink color should be added.

- For this, click on the (+) icon in green color, here click on the media option, select a background photo from the gallery, and add up to 6 seconds, now again click on the same layer and go to effects, search for blur effect in search and add blur, then strength three. Put in and add this background image as much as you want to create the video.

- A flower should be added on top of this image, we have a mandala flower and a single flower PNG image among flower images, along with this a name should be added, blur effect should also be added to the flower images, first, you should also add a title.

- You have to animate the flower images that you have added. For this animation, click on the Apex option and if there are many attractive effects in these effects, select the effect you like, and then you have to animate it. Now we have to add a text or a photo on top of this slide. Let’s learn how to create titles.

How to create Telugu titles in Alight Motion
- For this, you have to click on the plus icon on the same side green color as you have taken and take a text add a color to the text apply Telugu font, and set this text vertically horizontally in the center now add another text under this text and give it a different color Add and take a text related to marriage or marriage in this text. Now apply a different color to it and animate it too. After adding all these layers, how to add another tool Null.

- For this tool you click on the plus icon and then click on the element option and then here you will have many options among them, you will see this option add this and add up to 6 seconds here if you want to animate click this null layer and for this you can use and transfer option, and you can animate this slide as you like. By using this option, your work will be speeded up and all the other layers can be handmade at the same time.

- Similarly, when you use this null layer, you have to set a name for this or this layer. For example, 123 when taking the first flight is one, when taking the second flight is two, and when taking the third flight is three. If you want to animate any layer, click on that layer, and you will see the layer option on the right side top, click on it, now come to the side of any slide you want to animate, select the layer, and Click On the Null related to that slide. We have to connect to it and all the layers in flight should also be connected to this option, then we will be able to animate easily.

- After we have created all the slides, if you want to create extra slides, you can copy and paste all the layers in the slides you have taken to the next slide. For this, we have to click on the (+) plus icon click on media and add a photo. Click on this photo click on the effects option again and add the feather effect. Here you have to adjust according to the photo. Then set this photo as farmer or left and add a title related to this photo. In this way you can also create two photos of the groom and bride, otherwise, these two slides should also be animated in opposite directions. After adding these photos, animation of flower PNG images should be done above them.

- In this way, after you create all the slides add a nice background music to this video and then click on the plus icon click on the media option,n and add an image from your gallery in Cinematic Frames PNG format and fit this image to the screen This image should be added to the end of the video so that your video will have a cinematic look.

- After you edit the video editing complete you have to make a correction by playing frame age from starting to the end of the video because when you animate in animation out animation you have to repeatedly check whether it is correct or not and if anything else is missing you have to check and add again. If effects or text are missing, you can re-correct them by checking them. All these should be set before you export. Then, when you think everything is completely clear you have to save the video, this way you can create a wedding invitation video in the Alight motion app very easily.
A common mistake that many people make while editing video
- This makes our video lose a professional look because we need to use quality images or videos for video editing and while exporting we should also save as much as possible in high quality and set the frame rate as high as possible. If you think that you have to do animation every time, you will see the setting option before you start the project. Go to the setting and you will have some options by default. These options should be set in advance. If you do it, you can easily do the animation all at the same time. After the video is complete, play the video and save it directly without checking. It is because of all these small mistakes that our video does not get a professional look and the resolution should also be an understanding of this because if we know this resolution, which video It is easy to know what resolution to set to, you should set it in high resolution as much as possible.
💠Videos & Photos Click Here
💠Font Click Here
💠Music Click Here
💠Beat Mark XML Click Here
💠Beat Mark Preset Click Here