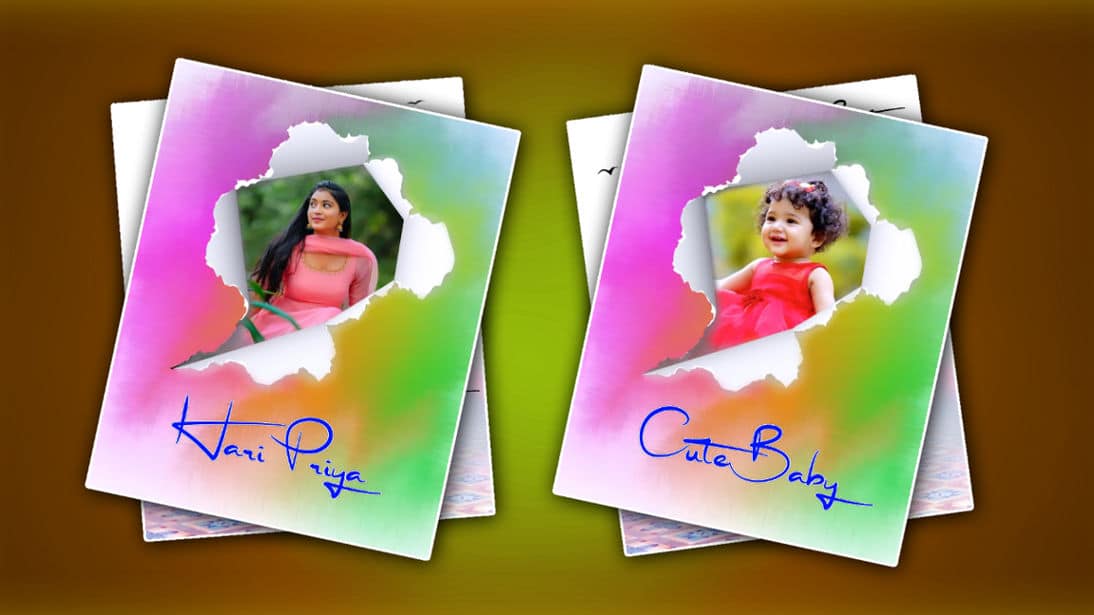
Friends, in this article, I will explain to you step by step how to edit a beautiful paper tear effect photo. You can edit it very easily. You can add your photo and also add your name and edit it very beautifully and attractively. For this, you can edit in applications PicsArt and Alight Motion. Which one will make it easier for you to edit? I will explain it to you both.
Let’s see what you need to edit this photo.
- Background photo
- Paper tear PNG image
- Stylish English font
- PicsArt or Alight Motion
PicsArt Photo Editing
- First, open the PicsArt application, click on the green plus icon, click on the Edit Photo option, select the background image from the gallery, and add it. Now, click on the Crop option and select the banner size or the Fort Rate option.
- Then, now we need to apply paper effects to this image. First, select any photo of yours. For that, click on the Add Photo and select the photo from the gallery. After selecting this photo, click on the middle one, not on the top. Then click on the sticker option and search for a paper tear in the search. Select and add any effect you like.
- Now add this PNG image to your photo and increase the size. Then send this PNG image back and select your photo. Select your photo and click on the eraser tool option at the top, select the brush, and select the sides. Now erase the outer side of your photo or the photo that is extra on the outside so that only the defects are visible. You should arrest it so that it is only in that effect. Then add any name related to this photo. For this, click on the text option and enter a name. Select blue or black for this name. Then if there is a font at the top, select My Fonts and select a font. Or if you want to apply the font you want as an extra, click on My Font and click on Add Font and add it.
- Now set this text in the center at the bottom. After setting, apply the shadow effect as well as the stroke and select this stroke by two or three per cent. Now click on the sixth mark. It will look like this. Now click on the crop option again and click on the AI option. Now it will add pixels to this photo. Then click on the sixth mark and save this photo to your gallery. In this way, you can edit any photo you like by removing the background. In this way, if you are attractive in HD, you can edit photos.
Alight Motion Photo Editing
- Open the Alight Motion application, click on the plus icon in green colour, enter the project name, select the banner size, take the background black or white colour, click on the create option, and open it.
- Now again click on the plus sign in green colour, click on the media option, select the background photo from the gallery, and add it. Now click on the effect option in this photo, click on the added effect, select blur from the effects, and apply it. This blur strength should be applied in two to three per cent, then.
- Now apply the paper effect on this photo. For this, again you need to click on the place second in green colour, click on share, select any shape from it, and set it a little above the middle. Then apply the paper effect.
- For this, again you need to click on the green plus second click on the media option and select this effect from the gallery and apply it. After applying.
- Now you need to make sure that this shape is only in this paper effect. It is extra. If it is there, you need to completely remove it. For this, you need to use the mask option in the blending options add keyframes completely and edit the entire image outside. After that, now you need to click on the plus icon again click on the gallery option select a photo of your choice from the gallery and add it. Now select this photo shape it second, and select the first option mask option at the top. Now this photo will be converted into that mask and set it. After setting it like this,
- Now you need to edit a name related to this photo. For this, click on the green plus sign. Click on the top go to the text option enter a text or name select a black or blue color for this name and apply a stylish font as well. Also, click on the stroke option click on the middle option and apply the stock as well.
- Now click on the share option, click on the current frame as PNG option, click on the export option, then click on the save button and save this photo to the gallery. In this way, you can also edit the photo in this application as you like. After that, open PicsArt again, click on the crop option, click on the AI option, enhance the photo, and save the photo to the gallery again. Now the photo editing will be complete.
💠 Photos Click Here
💠XML Click Here
💠Alight Motion Presset ✅ Click Here
💠Font Click Here
Sandip
Govani_Arjun_
Arjun