Friends, in this article, I will explain step by step how to edit a beautiful and colorful birthday video in two slides. This video is very simple and colorful with heart shapes. Anyone can edit it very simply and easily. You will surely be satisfied after doing this video and complete video editing.
We have to edit these videos using some tricks, read the article completely, and edit it.
Here’s what we need to do to edit this video
- White plane background Image,
- Red color heart PNG image,
- Colorful image for text,
- Green leaves for image for text,
- Butterfly black screen Animation video,
- Alley Personal Font style,
- Alight Motion application must be installed on your mobile.
- First, you open the Alight Motion application on your mobile click on the plus icon in green color and enter the project name, then select 1080p resolution, after selecting the 9:16 ratio, take a black background and set the frame rate to 30FPS, and click on create a project. Now the interface will open.

- Here you have to click on the plus icon on the right side green color click on media select a plain white background image from your gallery and add this image for 12 seconds.

- Now click on the same layer click on the effects option click on add effect and add the Gaussian blur effect then set the strength to 0.835.

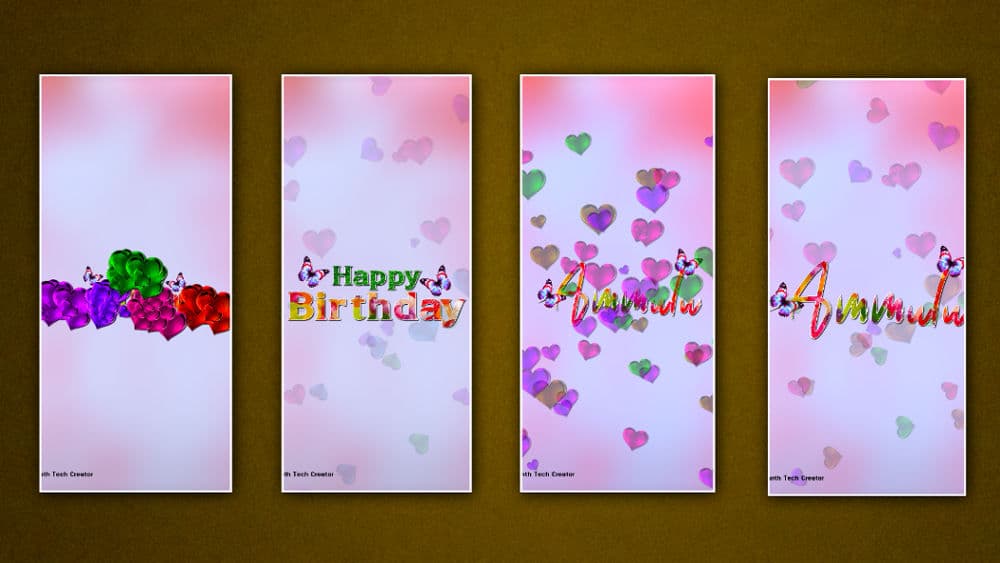
- Click on the place icon which is in green color and click on the text option here you have to take a text for example type Happy, and also you have to apply a font style to it, and also you have to align it to the center Similarly after setting the size also now you have to apply the color.

- To apply the colorful image to this text click on the text layer click on a color and fill option click on the media option select a colorful photo from the gallery or green leaves image and tap on stretch now this image will convert to text Also add this text layer for 6 seconds.

- Now once again click on the plus icon in green color and add another text. As mentioned earlier, the font style and size should be moved to the center, and type Birthday here. Add the birthday text below the happy text, and this text should also be added for 6 seconds. Instead of using this technique as an extra, you can duplicate the first text and add it easily.

- Click on this text layer click on a color and fill option then click on media select a colorful image from the gallery and add then stretch here you have to select this layer also add for six seconds.

- Then click on the plus icon in green color click on media and add the butterfly animation video from the gallery add this video for 6 seconds then click on the move and transform option click on the rotate option and set it at -33

- Come back and click on the butterfly layer click on effects click on add effect and add chroma key effect, select color block, and remove the background of the butterfly.

- Now click on the butterfly layer click on the effects option and click on add effect here you have to add four effects which are color balance, saturation, hue shift, brightness, address, and color grading.

- Click on the same butterfly layer duplicate it reduce the size of these two and set this butterfly video animation on the other side of the happy text, for this, you need to edit using the move and transform option.

- Click on the plus button click on the media option and add a red color heart PNG image from the gallery click on this message and add for six seconds.

- Now click on the heart PNG image layer and click on the effects option and click on add effect here you have to add three effects saturation, scatter repeat, hue shift, and apply these three using the HUE Shift effect to change the colors colorfully for rs seconds. Animation should be done and for this, we should increase the color of this image by using the Saturation option an,d by using the Scatter Repeat option we can animate anything we like by increasing the count so that the animation is repeated.

- Add the heart page image one more time as explained to you above and repeat this take four layers animate them in the same way add these effects set them to 6 seconds and edit them as shown here. It should be near the ending points should be completely animated in all directions and should be edited like this so that the happy birthday text you took at the start should not be visible and should be covered with these images.

- Then click on the plus button in green color click on the elements option select the null option and add this layer for 6 seconds. Then now all three layers of text plus the butterfly animation video should be connected to this layer, for you to select the text layer click on the layer option on the right side corner, and select null. Should be done

- After connecting like this, click on the scale option using the move and transform option and you can animate it.

- Now you have to select all the layers in the first slide and copy and paste them into the next slide, then delete one of the two texts click on the other text click on the edit text enter your name in it, and also an Either color or image should be applied.
- With this the video will be complete now click on the plus button and click on the audio option and add a good love BGM like the one you like in training then set the fade-in and fade-out apex for this music then click on the share option and select high quality and frame rate Set to full and click on the export option, after some time the save option will appear if you click on this save option, the video will be successfully saved to your gallery.
Final Touches
- While you are editing the video, you have to export the video completely, i.e. before playing it from the start to the end, you have to correct the mistakes. When applying any animations, when you apply the transition, if the duration is not set properly, or if the animation time is not set properly, then if you correct it before exporting all at once, we will give the video a professional look and you will also use it. You should use only high-quality images and videos and save the video by selecting only high-quality while exporting the video.
💠Alight Motion Project Click Here
💠Font Click Here