In this article, I will tell you step by step how to create a good birthday wishes video. If you want to say a beautiful wish with a short video to someone, you can send it to your partner, to your best friends, and to your wife. You can create a beautiful and unforgettable video with this video. I will explain read and edit completely this video is colorful with butterfly heart effects voice with BGM you will like it very much read it complete.
First, let’s know what we need to edit this video
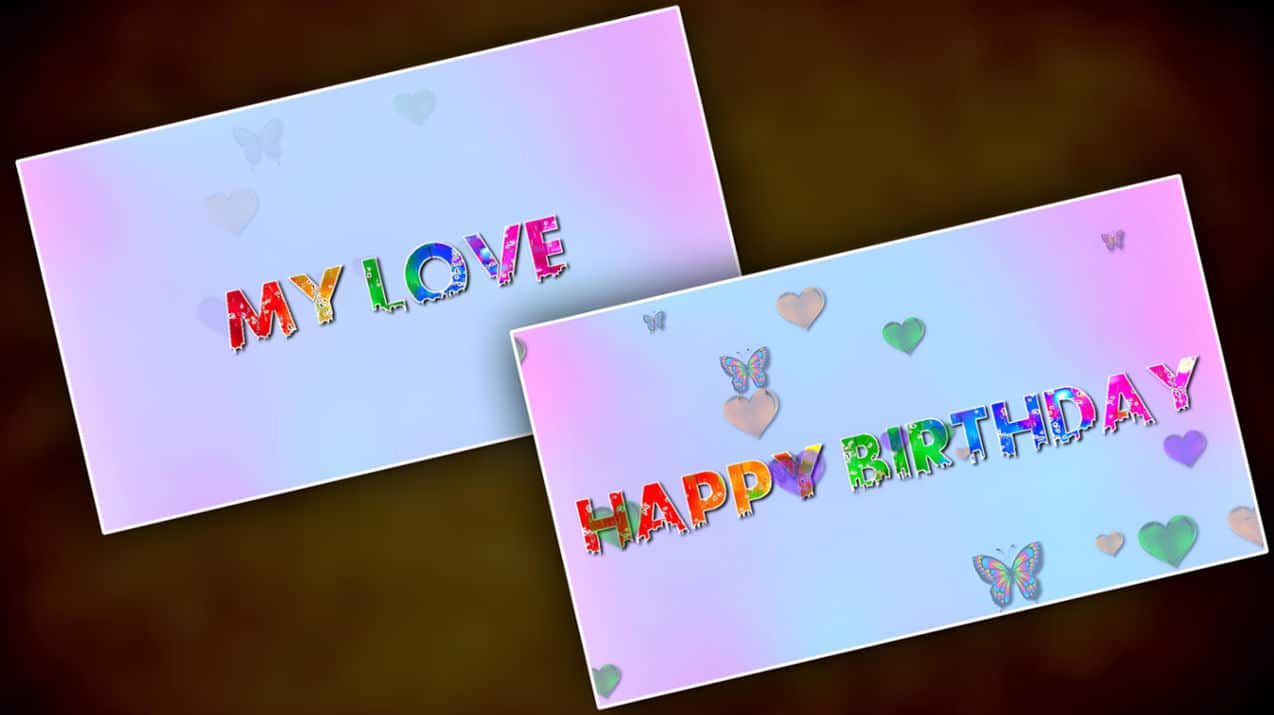
- Plain pink color background photo,
- The urban jungle font style for Titles,
- A colorful background image for the text,
- Butterfly PNG image,
- love symbol PNG image,
- BGM,
- The alight motion should be installed on your mobile,
1) Use Background photo
- Open the Alight Motion application on your mobile and click on the plus icon in green color, select the project name and 1080p 9:16 ratio, set the frame rate as high as possible, set the background color to black, and click on Create Project, the interface will open.

- Here again, click on media select a plain background photo from the gallery, and add this photo to 14 seconds also click on this photo or this photo and click on add effect and get Gaussian blur from the apex store this blur strength should be set in 1,000

2) Create Titles
- Click on the plus icon in green color click on the text option and enter a title here for example type Wish You Apply font style to this title align it in the center and adjust the size as well. This title or this text layer should be added up to one second.

3) Use colorful background Images to Title
- Now apply a colorful background image to this title or inside this text, for this click on the text layer and click on the color and fill option, click on the media option select a colorful background image from the gallery, and also select the fill option here. The image will convert inside the text. Also, click on the effects option for this text layer and click on add effect here you have to set fade in, and fade out for this text.

- Click on this text layer click on the effects option click on add effect and add two more effects here, which are saturation and text spacing, add these two effects and use them to set the space and color of the text.

- You can apply any color you like to this title, other than a colorful image. There are three options in these colors. Among them, you can add two colors here using a gradient. You can also apply it to this text. Only if you want multiple colors, do you have to select an image.
4) How to use butterfly image
- Click on the plus icon in green color click on media select the butterfly PNG image from your gallery and add this image for one second.
- Also, add this butterfly PNG image above the starting letter of the title.

- Now click on the same layer click on the Blending and Opacity options add key friends and set 100 percent in the starting and 0 percent in the ending.

- Now click on this butterfly image layer copy and duplicate it and add a butterfly image above the ending letter of the text.

- Now click on the same butterfly image layer click on the effects option click on add effect add scatter repeat effect and use the radius option in this, and you should animate this butterfly repeatedly. Apply the same effect and animate the two butterflies as you have taken.

- You need to set the colors for these two butterfly images. How to set this color according to the color of the text taken in the background. For example, if the first layer of the text is red, then apply red color to the butterfly image. For this, you click on the effects option and click on add effects. Here you can add saturation, HUE shift, and apex add. You should use these and change them according to the letter color in the text background.
- Also, only two of these butterfly images should be used
- Similarly, for these two images, click on the Blending and Opacity option and set it to 100% in the starting and zero percent in the ending.

5) Using Heart Shape PNG image
- Click on the plus icon in green color click on the media option add this image from the gallery and set the duration of this image to one second. Set in % and 0% in the ending.

- For this image also click on the Apex option and click on add effect here you have to add four effects, among them saturation, brightness and contrast, scatter repeat, HUE shift, add effects, and then you have to animate them in the same way that you have been told above. Depending on the color of the text as in

- Now you have to duplicate this image also and add it above the letters. When there are more letters, you have to add each image to each letter and change the color according to that letter. All these images should be added to them in a second

6) Using audio
- Now click on the plus icon in green color click on the audio option select a voice BGM from the gallery that you like and add it. Click on the mic symbol option for this audio and add keyframes and apply fade in, fade out. You can edit the video as

- So far you have to copy or duplicate all the layers that you want to add and paste them on the next side, like this you have to add text according to your video click on the add text option, and change the text. If only one text is changed, then you have to change the duration in it. Directly, you can either reduce the extra layer or use the time remapping option, and you can delete the extra. If you want the duration to be set correctly, you should use this option.

- In this, when you take the voice BGM, you have to add the text while listening to the music. To get it exactly, you have to add the beat mark and add the text. If you do this, it will come out perfectly.
7) Export Video
- Click on the share option which is on the right side top and here you can select as high quality as much as possible and for example, 1080p or more, set frame rate 30FPS, bit rate also click on the export option, and after some time click on the save option then this video is your gallery. Loki will save successfully.

8) Some important advice
- You can use any kind of images or videos to edit the video, but only those of high quality should be taken. Even after editing the video completely, play it from start to end, and if there are any mistakes, correct them immediately. This is where you can make corrections at once so you can give the video a professional look.
💠 Photos, Videos Click Here
💠 Music Click Here
💠 Beat Mark XML Click Here
💠 Beat Mark Presset Click Here
💠Alight Motion Project Click Here
💠Font Click Here