Are you looking for a good 3d status video for couples, in this article, I will explain to you how to create a status video in 3D?
The files needed for this should be gathered first
- Nature background and nature 3 PNG images, background photo couples photo, and particle background video are also like this and if you want to add anything extra, you have to prepare the files in advance.
Professional editing
- Before you import photos or videos while editing videos, you should select high-quality photos and videos. Also, while exporting, you should ensure that the reservation and frame rate are of high quality. Also, in the case of animation, even while doing animation, you should give the donation time at the same time. A professional look is given to the video. These are the mistakes that many beginners make. Time is needed to give your video a professional look. These are the mistakes that most beginners make.
Common Mistakes
- Common mistakes made by many people are selecting locality when adding photos or videos, selecting locality after animating photos, not doing donation animation at the correct time, not doing the donation animation at the right time, and also exporting in low quality while exporting, not reducing the preset, due to lack of minimum basic knowledge, the tight rating will remain as a beginner. You can’t make a professional video then even after the video editing is complete you have to check frames finally one by one you have to check it frame-wise if there is anything else to add or if there are any mistakes you have to check all before you export it completely so that you know the mistakes at once Where mistakes have been made can be known in advance whether there is a professional or not.
Lyrical editing
- In this application we have to be very careful while editing the lyrical video because we add a song and base the song, and we write the lyrics, then we have to do the animation to the same beat as it is set to the beat.

- When a lyric is being played in the song, the lyrics or text should start from where it is played, and where the word ends, add that text and delete the extra, and then after that text again, when the next word or next lyrics start, another text should be taken from there. Animating these lyrics gives a good look to the video. These animations need to be animated a little differently. For this, we have transfer or animation out animation tools in the kine master application. Use these tools, and you can animate each lyric attractively to give your video a good look. Editing of a lyrical video takes a lot of time.

- So you have to edit the animation and effects for each text one by one, so you have some tricks in this application, those tricks are first after editing a text completely or a sign completely, then duplicate the same text and add it under the next slide and that text. Tap on the above and click on the above replace option, and we can easily replace the text that we have created and if we keep duplicating and adding it, we can easily edit the lyrical video no matter how long it is. These tips are only supported in the latest version.
Photo adding

- While editing the lyrical video also editing should be based on the photo because wherever the lyric is animating you should add a photo next to it if we add a photo for the status and make a video then the video will look very attractive to the viewers so even when you take the photo the whole background You have to take only the removed photo and make sure that the photo is in PNG format, then you can easily animate the photo in the video. In this, you can use one photo to five photos for them. The photo should be animated to that beat in the same way as you are animating this photo lyrically, you should not select single photos while selecting photos, only couples” photos should be taken because this video is a video related to couples and this video can also be dedicated as a wedding anniversary and also very useful for saying anniversary wishes.
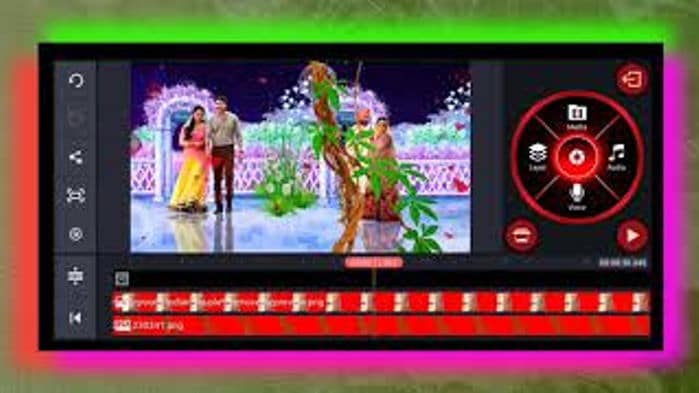
Video editing
- First, you open the Kinemaster application select the 16:9 ratio enter the name of the project, and then click on Create now the interface of this application will open Click on media tool and add a background photo or video as you have prepared this photo up to 30 seconds We need to add because we are doing video editing for status so add for 30 seconds then tap on the same photo or click on layer tool and click on apex tool and in this you will see basic effect option add it and put it in strength three, and we have this flower effect add up to 30 seconds now we have a background ready to see then add nature PNG images also add photos and lyrics text next to those photos leave a space add these PNG images and photos different angles so you add.

- Everything up to 30 seconds now tap on the export button and export it in high quality then open a new project and again add the same video i.e. the saved video now when you take the new project instead of a 16:9 ratio 9: 16 We have to select, and now we get full-screen landscape video that you can save now add lyrics in this full screen, and you have to add to cover this full screen then the 3D effect will be applied to you. You can start the video editing and select the lyrical song. After selection, we need to add the first beat mark. If we press on the cursor option in the timeline and make a hole, we will enter a marking. In this way, you can listen to the song at the start and change and add everything. Video editing should start.

Final checking
- After you have completely edited all the titles or all the photos PNG images video frame-wise step by step you have to check it completely while playing because do we do the animations correctly or is the effect missing somewhere? When transition effects and any other effects are added, we have to export only after checking whether all the effects have been added properly or not, we can give the video a professional look.
💠All Materials Click Here
If you have any doubts about this article, leave a comment in the comment section.